With the exception of our family tree trimming—when nostalgia and aesthetics collide as we unwrap ornaments and debate which deserve center stage—the sticky bun is my favorite Christmas tradition.
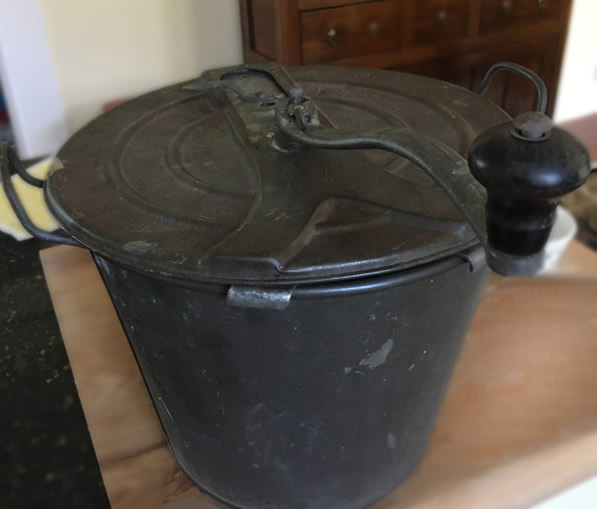
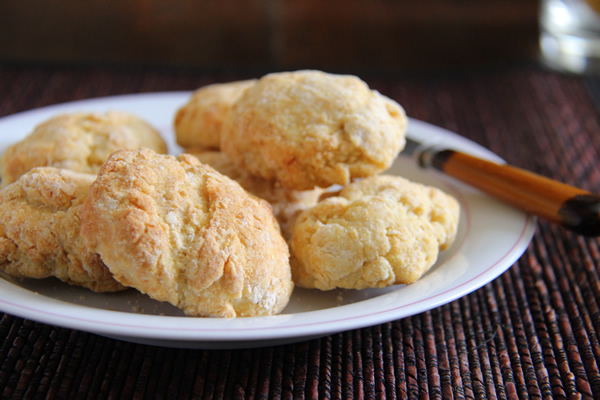
The tradition goes like this. The week before Christmas, we bake these fluffy, high cinnamon rolls glazed with caramel and topped with pecans. On Christmas morning, the buns, wrapped in foil crinkled from storage in the freezer, warm in the oven. Meanwhile, the kids squirm and whine on the stair landing, as if restrained by Santa’s Invisible Fence, until buns and coffee are ready. Once out for all to grab, the sticky buns fuel the strenuous morning of gift opening and debris management.
My late mother-in-law, Dick, (see Dick’s Sour Cream Cake and Ma’s Lemon Sponge Pie) set Christmas Day in motion with these buns. I assumed this tradition went way back. My sister-in-law, Chris, recently set me straight.
A talented baker, Dick made mostly conventional cakes and cupcakes while her five kids were small. Around the time the younger ones hit high school, she and her best friend, Lorraine, decided to push the envelope.
“They started a kind of bake-off,” says Chris. “Here were two housewives, the closest of friends, trying to ‘out-wow’ each other.” If Lorraine offered up éclairs, Dick would counter with Danish pastry. Out of this exchange came sticky buns. Like the latest Disney animated feature, the buns delighted the family and became an instant holiday classic.
Fun, from start to finish
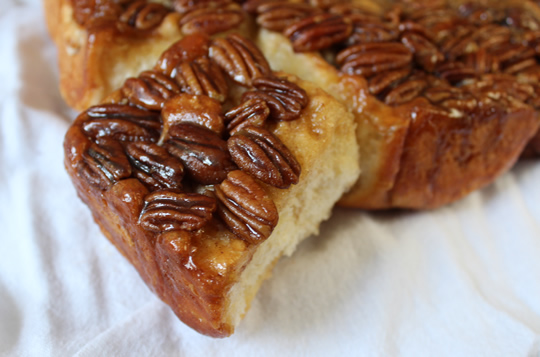
Preparing this recipephany is total fun, from whirring up the silky-smooth dough in the food processor, to flipping over the baked buns to reveal lacquered pecans fossilized in amber caramel. During baking, wafts of warm cinnamon and rising sweet dough make you light-headed. These pheromones can permeate the house for hours, maybe even days.
No matter what your experience with yeast, these buns will come out high and light if you just wait patiently for them to rise slightly above the pans. The unusual combination of yeast and baking powder might have something to do with the fluffiness.
Soft caramel, not gooey syrup, sweetens the tops. So nothing will drip onto your pjs.
You can adapt the recipe to your tastes. I use bread flour to get that extra gluten springiness. I nearly double the filling, following the rule that you just can’t have too much cinnamon. And rather than scattering nuts, I like to line up a dense phalanx of pecan halves marching across the tops of my buns. (Dan just mentioned that he doesn’t care for this ashlar pattern, so I’ll probably go back to sprinkling.)
Be sure to freeze the buns to keep them soft and tasting just-baked. Warm them up right out of the freezer. Preferably on Christmas morning.
Dick’s Sticky Buns
Sweet Dough
- 2 packages dry yeast (4 1/2 teaspoons)(I use SAF instant yeast)
- 1/2 cup warm water
- 2 cups lukewarm milk, scalded and cooled
- 2 teaspoons salt
- 1 egg
- 1/3 cup sugar
- 1/3 cup vegetable oil
- 3 teaspoons baking powder
- 5-6 cups flour or more, either all-purpose or bread flour (as much as needed to make a soft, stretchy dough)
Cinnamon Sugar Filling
- 4 tablespoons butter or margarine, softened
- 1/2 cup sugar (I use 3/4 cups)
- 1 1/2 tablespoons cinnamon (I use 3 tablespoons)
Caramel Pecan Topping
- 1 cup brown sugar (I use 1 cup sugar and 1 tablespoon molasses)
- 1/2 cup butter or margarine
- 2 tablespoons light corn syrup
- Pecan halves (about a pound)
Makes 24 large buns.
- Put 3-4 cups flour in the food processor with salt, sugar, baking powder and yeast. Mix about a minute. Add water, milk, egg and oil, and blend. Add remaining flour to make a dough, and process until it pulls away from the bowl. Put in a lightly oiled bowl, turn the dough over to coat with oil, and cover with plastic wrap. Let rise until double, about an hour to an hour and a half, depending upon the warmth of the room.
- Meanwhile, make the pecan topping by heating the 1 cup brown sugar (or white sugar and molasses) and butter or margarine in a saucepan until just melted. Remove from heat. Stir in 2 tablespoons light corn syrup. Divide caramel mixture between two 9 x 13 inch greased pans. Press half the pecan halves into the mixture in each pan.
- Punch down dough and cut into two. Lightly flour a surface, and roll out one half of the dough into a large rectangle, about 12 x 18 inches. Spread with half the softened butter or margarine. Mix the sugar and cinnamon together, then sprinkle half over the dough, being sure to go right to the edges. Starting with the long side, roll up jelly-roll style. Pinch the end of the dough to the roll to seal. Slice into 12 rolls. Place each roll in the pan on top of the caramel and nuts, cut side up. Repeat with the other piece of dough. Let rise until the tops of the buns go slightly above the top of the pan (not all have to rise that high), about an hour.
- Bake in a preheated 350° oven for 30-35 minutes, until browned.
- Immediately invert the pan onto a large sheet of aluminum foil, and spoon out any caramel still in the pan onto the tops of the buns. (The caramel solidifies quickly, so if the buns or caramel have been out even a short while they can stick to the pan. If so, pop the pan into the oven for a couple of minutes to melt the caramel.) Let buns cool, then wrap completely in aluminum foil. Freeze if you don’t intend to eat them within a day. Warm before serving.

4 Comments
Claire
Hi Recipephany! Could you please remind us how best to reheat in the oven? Don’t want to overcook, and would like to know how far in advance we should put frozen buns in there before opening stockings:) (this is for next year: this year we did individually in microwave:)
Thank you!!!
Diane Brody
Dear Claire,
We’ve been heating them up individually in the microwave, too, because they get gooey and soft that way. But if you want to reheat them in the oven, keep wrapped in foil and warm them at about 350 degrees until caramel melts. Warming from frozen will take a long time, so we like to defrost them first. Be careful not to leave them in the oven too long, as they can get dry and the edges can harden. I hope that helps!
Thanks, Claire!!
xoxoxo
Claire
Making them now for Christmas at the Stephensons! Here goes nothing/fingers crossed!! Thank you for posting this recipe.
Diane Brody
Oh, wow, hope it all worked out! xoxoxo